Beginner Released-game notes
Beast of Reincarnation Emma's parry after the window change
Beast of Reincarnation parry guide: how Emma's parry builds Flow for Koo, the v1.0.7 window change, which boss attacks to parry and which to never parry.
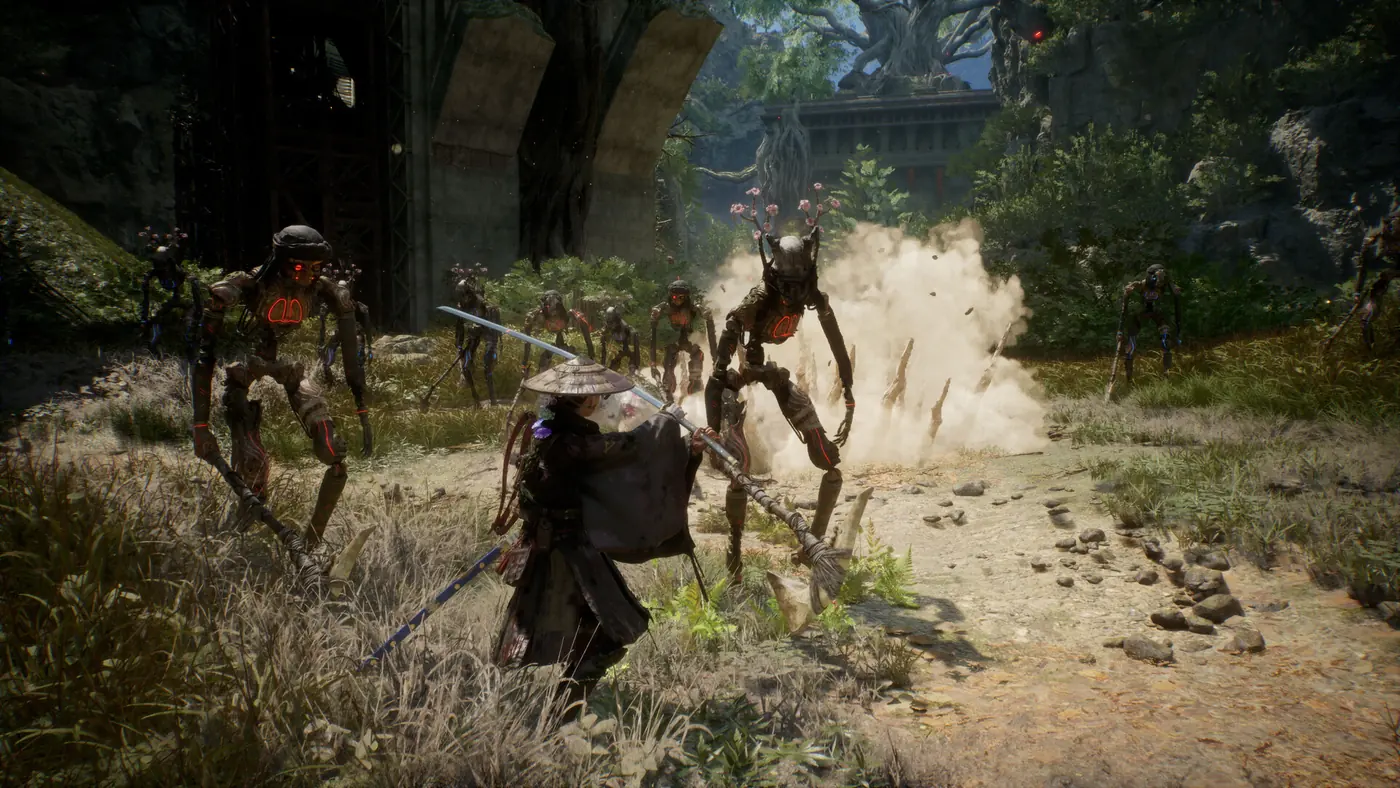
The parry is the heart of Beast of Reincarnation. Every successful parry builds Flow, the resource Koo spends on Bloom Arts and Nushi skills – so a player who dodges everything starves half their kit.
How the parry works
- Press guard as the strike lands. A clean parry deals stagger, restores some HP and Flow, and opens a punish.
- Story difficulty widens the window. No achievements are locked behind difficulty.
- Patch v1.0.7 adjusted the parry window when Emma is already taking damage – the moment most failed parries happen.
- Filling an enemy’s down gauge opens a takedown that does far more than chip damage.
What to parry and what not to
| Parry | Do not parry |
|---|---|
| Rangifer’s normal antler swing | Rangifer’s red four-sweep combo – give space |
| Lacerta’s three-bite Mouth Snap and tail swipe | Lacerta’s underground lunge |
| Taurus’s triple horn swing | Taurus’s charge – use Bind |
| Erymanth’s red 5-hit tusk combo | Erymanth’s red-flash charge – never |
| Kunai’s melee strings | Kirin’s missiles – one-hit kills |
| Shidou’s sword and branch swings | Shidou’s vertical tree slam – perfect-dodge |
The pattern: red glow can mean either, so learn each boss’s tell rather than reacting to colour alone.
Practising
Heavy Golems in Ogouchi (levels 6–9) are slow and readable – ideal for timing. Then try the Rangifer crater fight without dodging.
Gear and skills that help
- Purifier Blade (starting sword): taking damage briefly reduces Emma’s stagger.
- Purity heals a share of damage dealt after a parry punish.
- Emma’s skill tree (Giant Tree Budburst achievement) unlocks Blade Arts and Finishers that turn parries into big damage.